As I mentioned, my style has changed when I understood the "Back to Basic" style of Project Life and when I started reading Simpler Scrapper. I've been learning to simplify to get things done and the feeling of accomplishment is great. It truly is. But there are moments that I miss the artsy compositions that I used to do. The problem is that currently my time is so short that I don't think I have enough time to do it and then I get stuck.
This layout was made in such a short time and I'm not sure if I like it entirely. But some tecnhiques and elements show my style: Layering and Rings.
I know making a ring on Photoshop is a simple thing but maybe some newbies to digiscrapbooking may not know how to do it. There are many ways to make it, this is one I often use.
How to create ring templates for your layouts
STEP 1: Open a new file for your layout. Then select the ellipse tool. If you have a specific size for your circle, you can determine on ellipse option box. If you don't have a specific size, hold CTRL+ALT keys when creating to have a real circle.
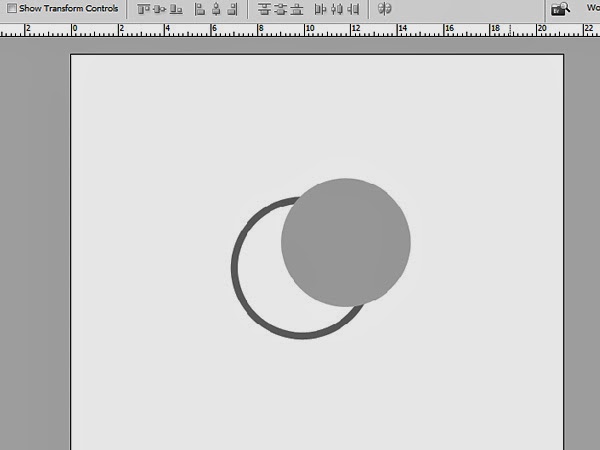
STEP 2: Create a new circle a little bit smaller. Select the smaller circle's layer and CTRL+CLICK on the big circle's layer. Then use the alignment controls on the upper toolbar: align vertical center + aligne horizontal center. Click CTRL+D to let selection go.
STEP 3: Select the big circle's layer and CTRL+CLICK on the smaller circle's layer. Then click DELETE to delete the center of the circle.
STEP 4: Delete the small circle layer if you are not using it. Your ring template is ready to use.
Fun, right? I hope this is helpful to give your layouts a twist. And of course, if you’d like to share your layouts using rings, just leave a comment here I'll love to visit your gallery or blog and leave you some love.
Any questions about this tutorial? Feel free to ask away in the comments section below and I’ll be happy to help you out.


No comments:
Post a Comment